
No watch, no Garmin. Just the trail, obstacles and heat! What a blast!! #WDKansasCity
Posted: 2011-07-31 in Running0
Ummm, I’m pretty sure an iPod Nano isn’t supposed to do this. Too much sweat perhaps?
Posted: 2011-07-25 in Running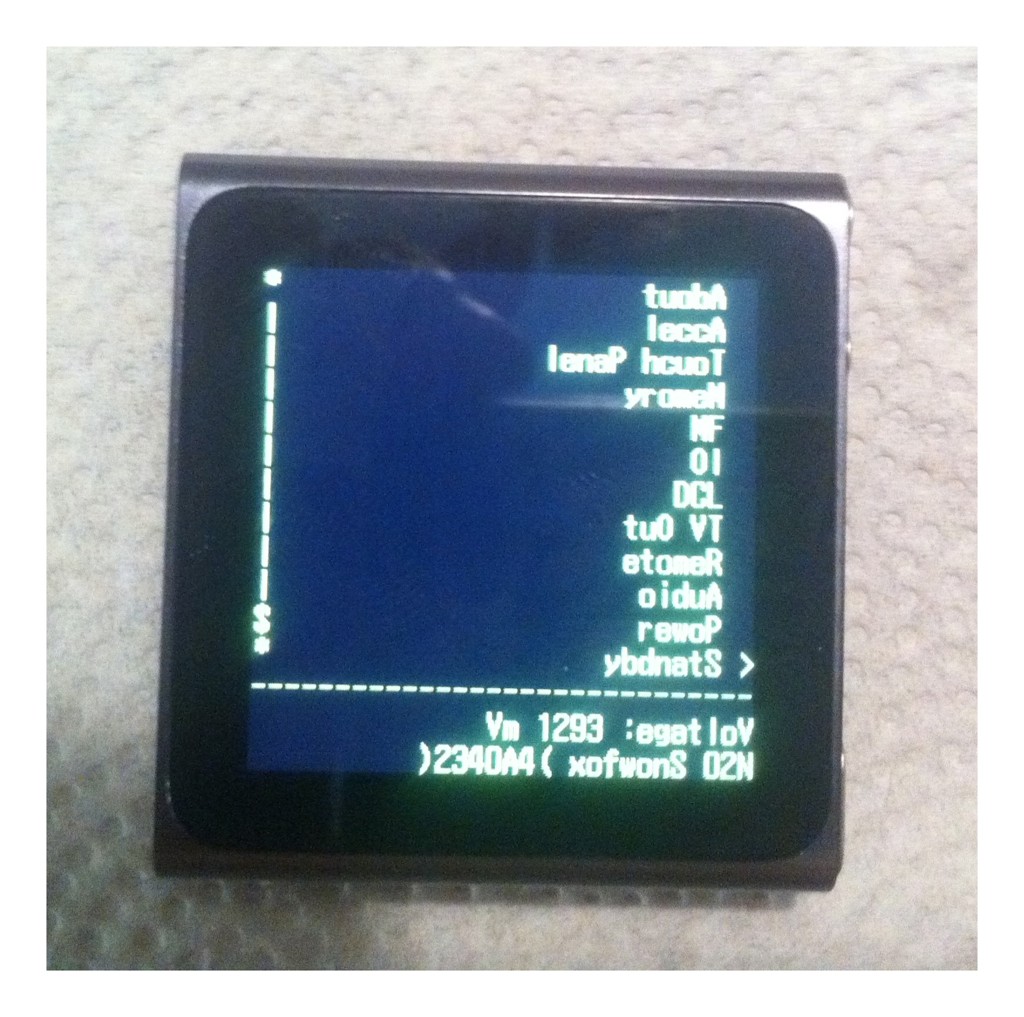
Thinking about going for a run. Maybe I’ll wait until the temp is in double digits.
Posted: 2011-06-13 in Running
Unix Geekery: Cloning a Dual-Boot Hard Drive With dd
Posted: 2011-05-21 in How To, Unix GeekeryTags: How To, Linux, OS X, Ubuntu, Unix
I recently bought a new hybrid SSD drive for my MacBook Pro 5,1. I’m dual booting Mac OS X and Ubuntu 11.04 64-bit. I’ve made a lot of changes to my Ubuntu system and I really did not want to go through the hassle of reinstalling Ubuntu and redoing the changes. I needed a way to clone the entire hard drive to include the partition schemes, operating systems and files.
I used the Unix command “dd” to accomplish this task. Using dd I cloned my old (internal) drive to the new (external) drive. Both systems remain bootable and all files and permissions remain intact. dd does not care what operating system(s) are on the drive or how many partitions you have. It is a bare-metal duplication from one drive to the other.
I did a lot of research on the ‘net to learn how to do this. I am writing this post to help others that may find themselves in the same situation. Additionally, this will capture everything I’ve learned so that I can refer back to it the next time I have to do this.
Like my other Unix posts, let me alert you to to the EXTREME geekiness of this post. If Unix commands are not your thing, don’t waste your time reading the rest of this.
One of the reasons I enjoy working with Unix on Mac OS X & Ubuntu is that it provides a playground for me to learn how my computer works. I get immense joy when I string a Unix command together and it works. (My wife would be rolling her eyes right now.)
Reqired Items
- Bootable backup of your working system(s) and files. (The unofficial nick-name for dd is “Data Destroyer” because if you type the command wrong, you will nuke your entire system).
-
Your new hard drive. I formatted mine before this process although I don’t think this is required.
-
An external enclosure for your new drive to reside during the operation.
Preparation
- Disconnect from the internet to prevent Dropbox, MobileMe or Mail from changing your system while going through this process.
-
Backup your system; especially your important files. It’s too easy to destroy your system.
-
Boot from your backup. All of this was done with OS X but could also be done from Linux.
-
Attach the hard drive you want to clone your drive to.
-
The drive will mount. Unmount it (do not eject) using disk utility; leave it connected via USB or FW.
Clone Your Hard Drive
- Open a terminal window and run the following command:
diskutil list
It will output the following:
$ diskutil list

/dev/disk0

#:                       TYPE NAME                    SIZE       IDENTIFIER

0:      GUID_partition_scheme                        500.1 GB   disk0

1:                        EFI                         209.7 MB   disk0s1

2:                  Apple_HFS JangoFett               469.6 GB   disk0s2

3:       Microsoft Basic Data                         9.3 GB     disk0s3

4:       Microsoft Basic Data                         20.0 GB    disk0s4

5:                 Linux Swap                         1.0 GB     disk0s5

/dev/disk1

#:                       TYPE NAME                    SIZE       IDENTIFIER

0:      GUID_partition_scheme                        500.1 GB   disk1

1:                        EFI                         209.7 MB   disk1s1

2:                  Apple_HFS Backup                  499.8 GB   disk1s2

/dev/disk2

#:                       TYPE NAME                    SIZE       IDENTIFIER

0:      GUID_partition_scheme                        *500.1 GB   disk2

1:                        EFI                         209.7 MB   disk2s1

2:                  Apple_HFS BobaFett                499.8 GB   disk2s2
Backup (disk1) is the drive I have booted from. JangoFett (disk0) is the SOURCE and BobaFett (disk2) is the TARGET. EVERYTHING on the target drive will be erased during the operation. Note that we want to clone the entire disk so we use disk0. If we only wanted to clone the JangoFett partition to the BobaFett partition, disk0s2 would be the source and disk2s2 would be the target.
- Run the following command:
sudo dd if=/dev/rdisk0 of=/dev/rdisk2 bs=128m conv=noerror,sync
sudo= Super User Do; runs the command as root or the super userdd= Data Description; utility used to copy and convert dataif= input file (the SOURCE or the drive you want to copy FROM) which is/dev/rdisk0of= output file (the TARGET or the drive you want to copy TO) which is/dev/rdisk2bs= the block size128m; you can experiment with smaller or larger numbers depending upon what you are doing.conv= tells dd not to worry about errorsnoerrorandsyncsays write 0’s to the target if you can’t read the data.
Note: I use rdisk0 and rdisk2 instead of disk0 and disk2. rdisk is the block device; disk is the character device. The command works using both but seems to run faster when using rdisk. I’m sure my understanding is probably off. Again, I’m not an expert. I know just enough to be dangerous.
When you press enter you will be asked for your password; enter it and hit return.
Like most Unix commands, there is no feedback, no progress bar, nothing. The cursor just sits there and blinks at you (mocking you) while it follows your instruction. Don’t fret. Let it run it’s course. When it completes you will see a completion message telling you how many blocks and files that were copied. This could take HOURS (it will be significantly less time than re-partitioning, re-installing and editing everything).
Getting the status of dd
As my wife would tell you, I’m not very patient. I surely loathe not knowing what is going on. Fortunately, this provided another Unix learning opportunity. Computers are machines, they do EXACTLY what we tell them to do (mostly). You just have to know how to ask. The commands below assume that dd is currently running.
The Easy Way (works on a Mac):
Press “CTRL + T”
The Hard Way:
- Open a new (2nd) Terminal window.
-
Enter the following command:
ps -ac | grep dd
ps= Process Status; displays all of the processes that have controlling terminals-ac= Two options to thepscommand.atellspsto show your processes and other users’ processes;ctells ps to just list the executable name of the process (dd) instead of the entire command.|= “pipe” diverts output from the previous command to the next commandgrep= Global Regular Expression Print; searches for a pattern from what is inputed to itdd= the pattern we are searching for; since we ran the command “dd” we want to search for that pattern.
The command will return something like the following:
$ ps -ac | grep dd

355 ttys000    1:39.76 dd
The first number is the PID or Process ID of dd. We need the PID in order to ask dd its current status. We get the status by running the following command:
kill -INFO 355
kill= is the command used to terminate or signal a process.-INFO= is an option to the kill command; it tells your computer “don’t terminate the process, just tell me what’s going on.”355= the PID of dd; the process whose status we want to know
The status of dd is written to the FIRST terminal window (where dd is running):
1266+0 records in

1265+0 records out

169785425920 bytes transferred in 4582.019038 secs (37054719 bytes/sec)
Run the command as many times as you want. You’ll see the the numbers increasing with each successive instance of the command.
Explaining the Status Message
1266 is the number of records dd has read from the source (disk0); 1265 is the number of records dd has written to the target (disk2). A record is a block. The size of that block is 128m (128 Mega Bytes) because that is what we instructed dd to use when we ran it.
For those that don’t know, there are 1024 bytes in a kilobyte; 1024 kilobytes in a megabyte; and 1024 megabytes in a gigabyte.
Ergo: 1265 (records) x 128 (megabytes/record) x 1024 (kilobytes/megabyte) x 1024 (bytes/kilobyte) = 169,785,425,920 bytes (which is exactly the number of bytes that have been transferred).
It took dd 4,582 seconds to make that transfer which is about 1 hour and 16 minutes (4582 / 60). Knowing that we have a 500GB hard drive we can estimate that it is going to take about 4 hours to clone the drive.
Completion
When dd completes the cloning process and exits, it will display its’ final status message.
dd: /dev/rdisk2: short write on character device

dd: /dev/rdisk2: Input/output error

3726+1 records in

3726+1 records out

500107862016 bytes transferred in 14584.393113 secs (34290619 bytes/sec)

$
The error message states that the last block was “short” meaning it wasn’t a full 128MB block. The “+1” (3726+1) is the number of errors. Only one error which was the short write at the end. Nothing to worry about.
At this point the drives are EXACTLY the same; bit for bit. To verify this run the following command:
diskutil list
Returns the following output:
/dev/disk0

#:                       TYPE NAME                    SIZE       IDENTIFIER

0:      GUID_partition_scheme                        500.1 GB   disk0

1:                        EFI                         209.7 MB   disk0s1

2:                  Apple_HFS JangoFett               469.6 GB   disk0s2

3:       Microsoft Basic Data                         9.3 GB     disk0s3

4:       Microsoft Basic Data                         20.0 GB    disk0s4

5:                 Linux Swap                         1.0 GB     disk0s5

/dev/disk1

#:                       TYPE NAME                    SIZE       IDENTIFIER

0:      GUID_partition_scheme                        500.1 GB   disk1

1:                        EFI                         209.7 MB   disk1s1

2:                  Apple_HFS Backup                  499.8 GB   disk1s2

/dev/disk2

#:                       TYPE NAME                    SIZE       IDENTIFIER

0:      GUID_partition_scheme                        *500.1 GB   disk2

1:                        EFI                         209.7 MB   disk2s1

2:                  Apple_HFS JangoFett               469.6 GB   disk2s2

3:       Microsoft Basic Data                         9.3 GB     disk2s3

4:       Microsoft Basic Data                         20.0 GB    disk2s4

5:                 Linux Swap                         1.0 GB     disk2s5

$
You now have a perfect clone of your hard drive!
Remove the clone from the external enclosure, pop it into your computer and voila! All systems running perfectly with no data loss.
If you want to boot from the clone while it is attached via FireWire or USB there are other some other things that need to be done. That will have to wait for another post. I’m still figuring that out.
If this was helpful, or you spot an error, please leave a comment!
MacDefender is not a virus. It's a trojan AND an IQ test. How do you get MacDefender? By being stupid. Here are the stupid things you have to do in order to get SUCKERED by MacDefender.
1. Go to a website of ill repute.2. Believe the redirected website that claims your Mac is infected by a virus. (hint: it's not)
3. Have your browser set to automatically open "safe" files.
4. Click on "continue" when the MacDefender installer automatically opens.
5. Enter your administrator's password to install MacDefender to remove the virus that is not really there. (YOU are doing all of this).
6. Really believe that your Mac is infected with a virus because porn websites are automatically opening up.
7. Enter your credit card number into MacDefender. Everything above is a choice YOU have to make. You can stop at any time through # 6. Once you complete # 7, MacDefender also revokes all cool points, self-esteem, degrees conferred, etc. You are officially stupid. Just because it is written down doesn't mean it's true. Think for yourself. One more thing… After giving MacDefender your credit card number, Steve Jobs shows up at your door step with an Army of Apple Geniuses. They take away all of your Apple gear. And leave you with a Dell computer running Windows (you're not smart enough for Linux), a Zune, and a Blackberry. The Unofficial Apple Weblog has an excellent article on MacDefender and how to avoid it, or get rid of it. Read it. You'll be smarter for it.
http://www.tuaw.com/2011/05/19/macdefender-malware-protection-and-removal-guide/
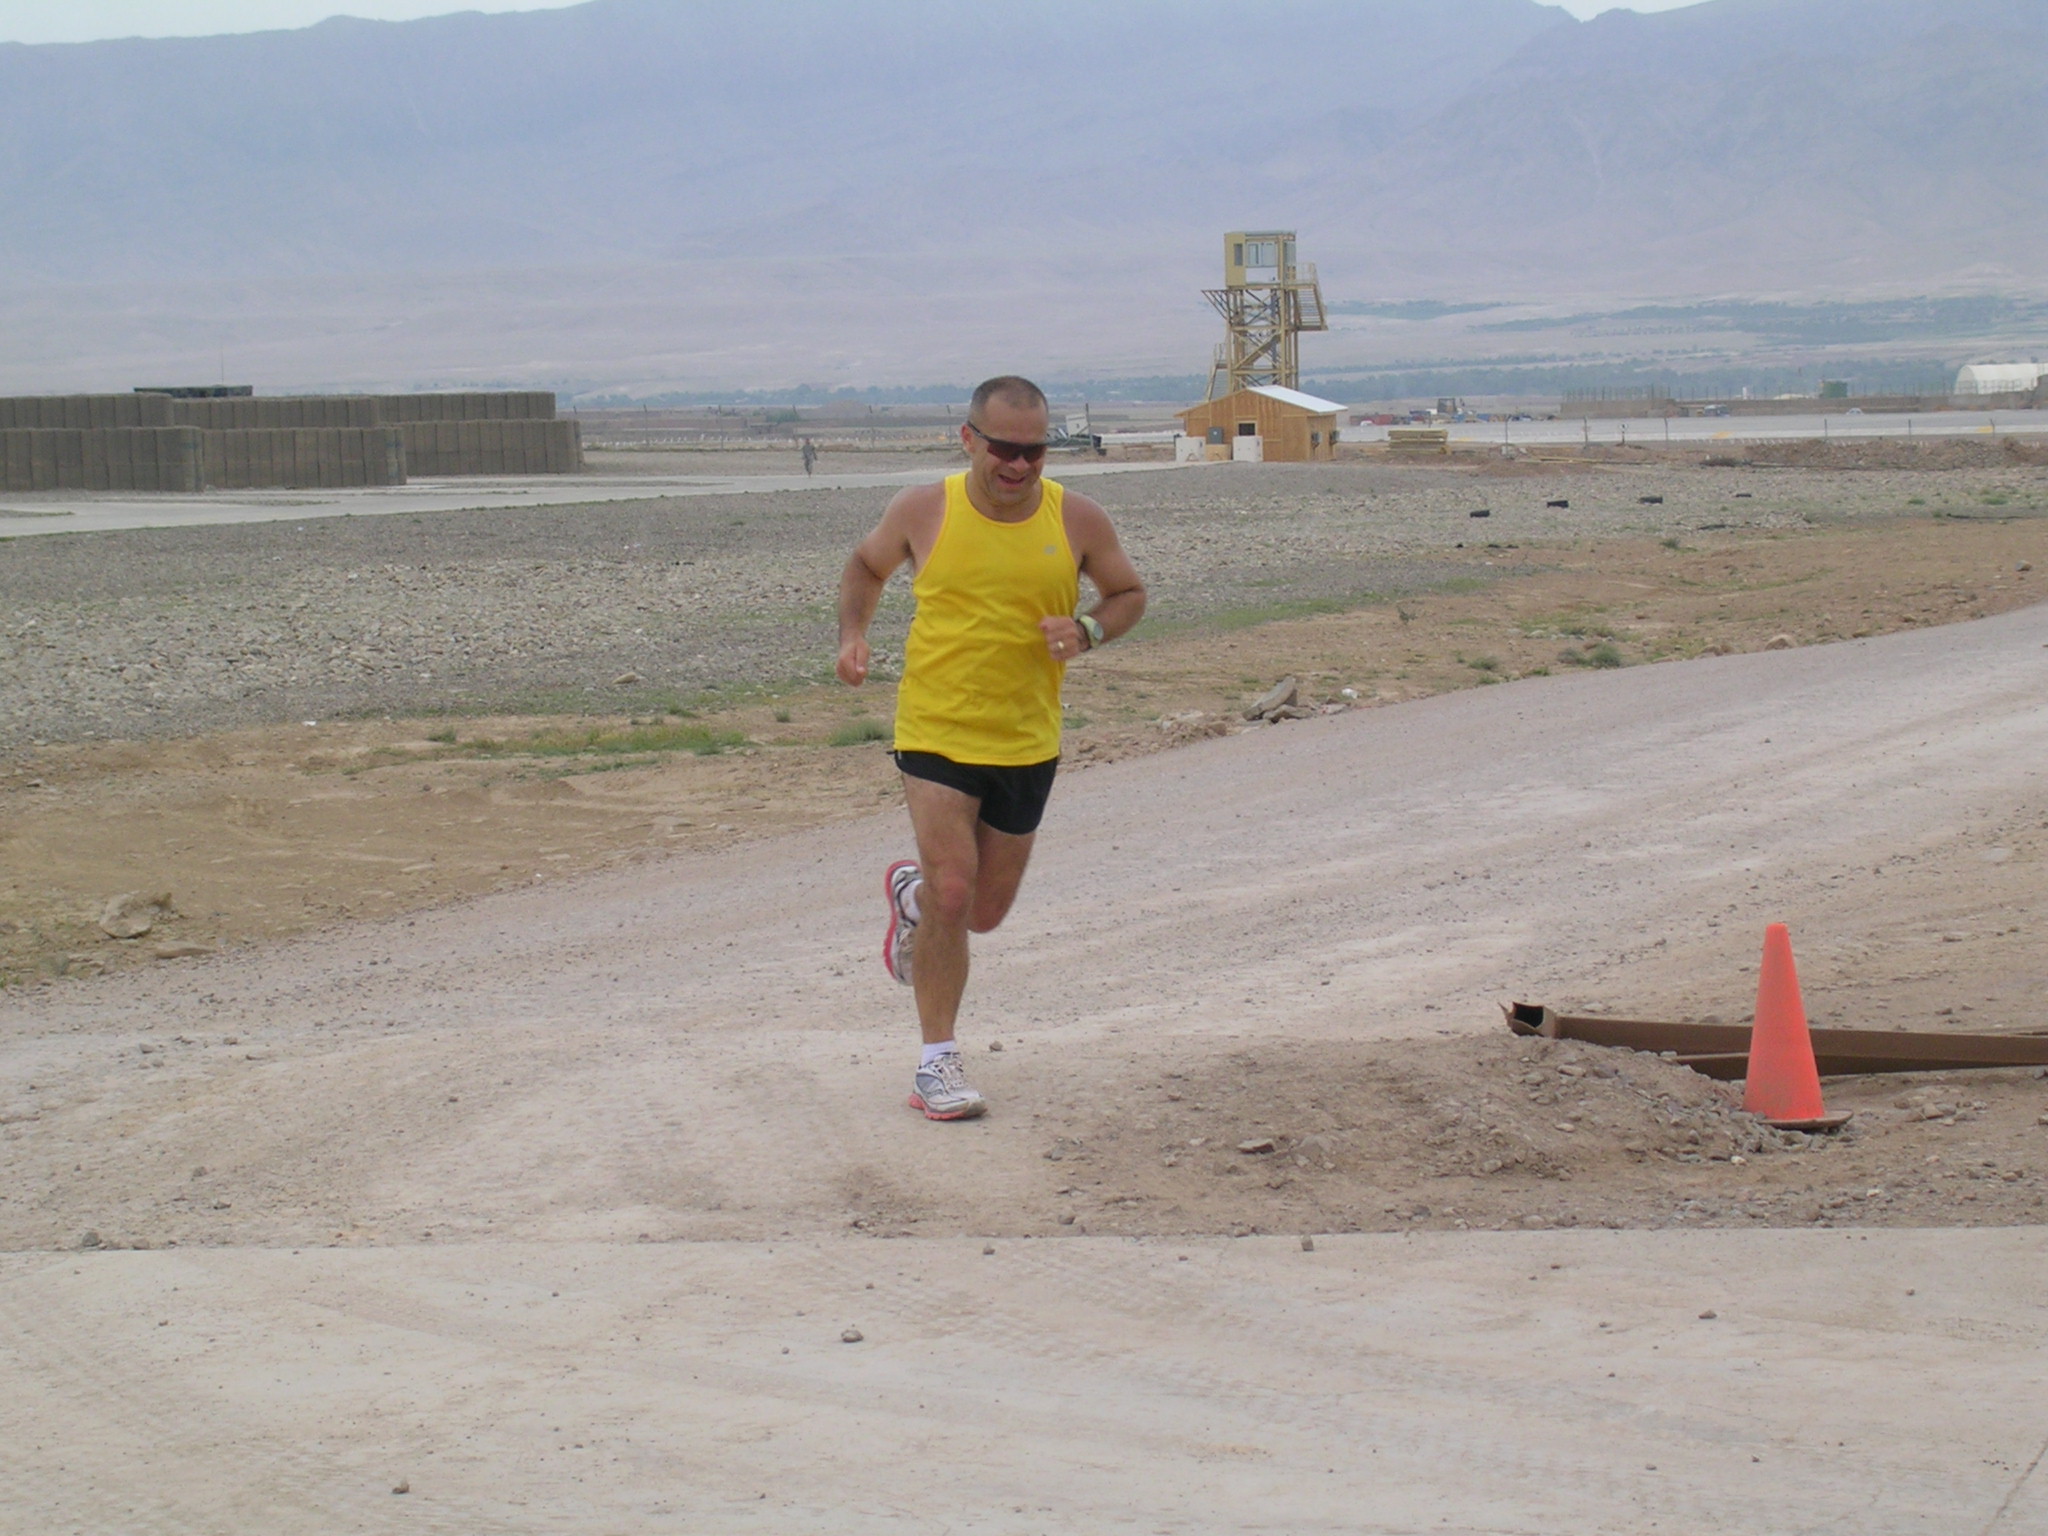
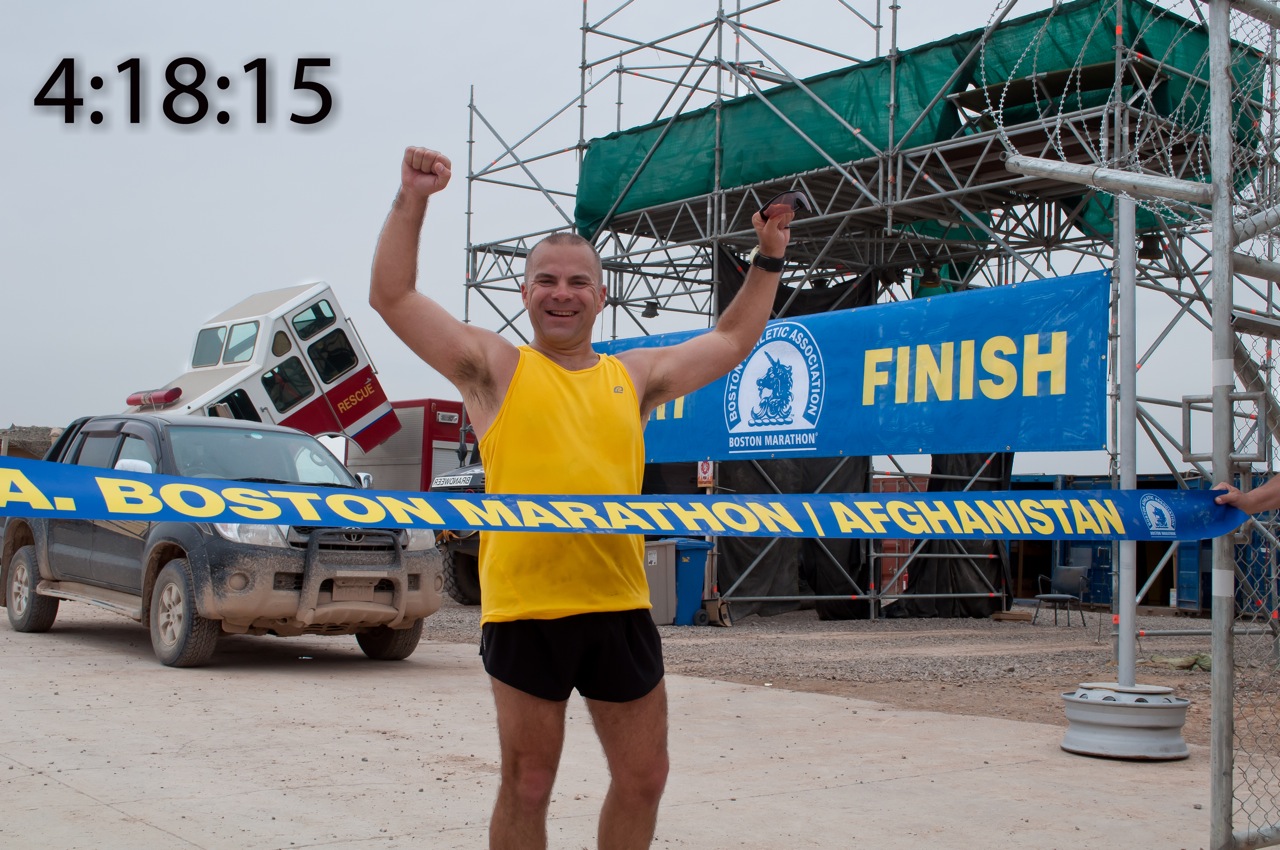
On Saturday, 16 April 2011 I ran my first marathon. Finish time was 4:18:15.
My goals were as follows: A – Finish in under 4 hours.B – Beat Oprah (4:29:20) Check!
C – Finish! Check!
D – Don’t crap my pants. Check! The marathon was an official satellite run of the Boston Marathon that will commence on Monday, 18 April 2011. I trained well for this. Here in Afghanistan we are sitting at an elevation of 4500 feet. There are no asphalt roads. Just gravel and dirt trails covered in potholes. I got used to it and it’s not so bad. The elevation took a while to get used to. Before I got to Afghanistan, my normal training pace was about 8:00 per mile. When I got to Afghanistan my training pace immediately dropped to 10:00 per mile. 3 months later I’m down to about an 8:30 pace in normal training runs. The weather was perfect! Overcast, cool, and just a slight breeze. I thought I was going to nail my A goal with time to spare. This was not to be. My stomach was clearly upset and got worse as the start approached. My plan was to run the first 6 miles at a 9:30 pace and the remaining 20.2 miles at a 9:00 pace. The course was 7 laps around the airfield; each lap approximately 3.79 miles. As soon as the race started I was in jeopardy of not achieving goal “D.” I was forced to make a pit stop for the first three laps. Still wanting to finish sub-4 I increased my pace to an 8:30 pace. This was a mistake that I would pay for around mile 22. I had used GU during all of my long training runs and don’t think that was the problem. The problem was likely the gatorade or a combination of GU and gatorade. Laps 4-6 went by fairly well. The last lap, however, was brutal. I was literally running water station to water station telling myself if i had a cup of water in my hand I could walk. Each time I stopped it became harder and more painful to start again. I was literally screaming as I began running again. After the final water stop with about a mile to go I dropped the hammer. Unfortunately, it was a jeweler’s hammer and not a sledge hammer. I finished with a respectable 4:18:15 achieving goals B-D! Since it was my first marathon I also PR’d!! I really want a sub-4 and will be looking to achieve that in Kansas City in October. Now for some pics! Before the start. Me and my running partner in the middle.
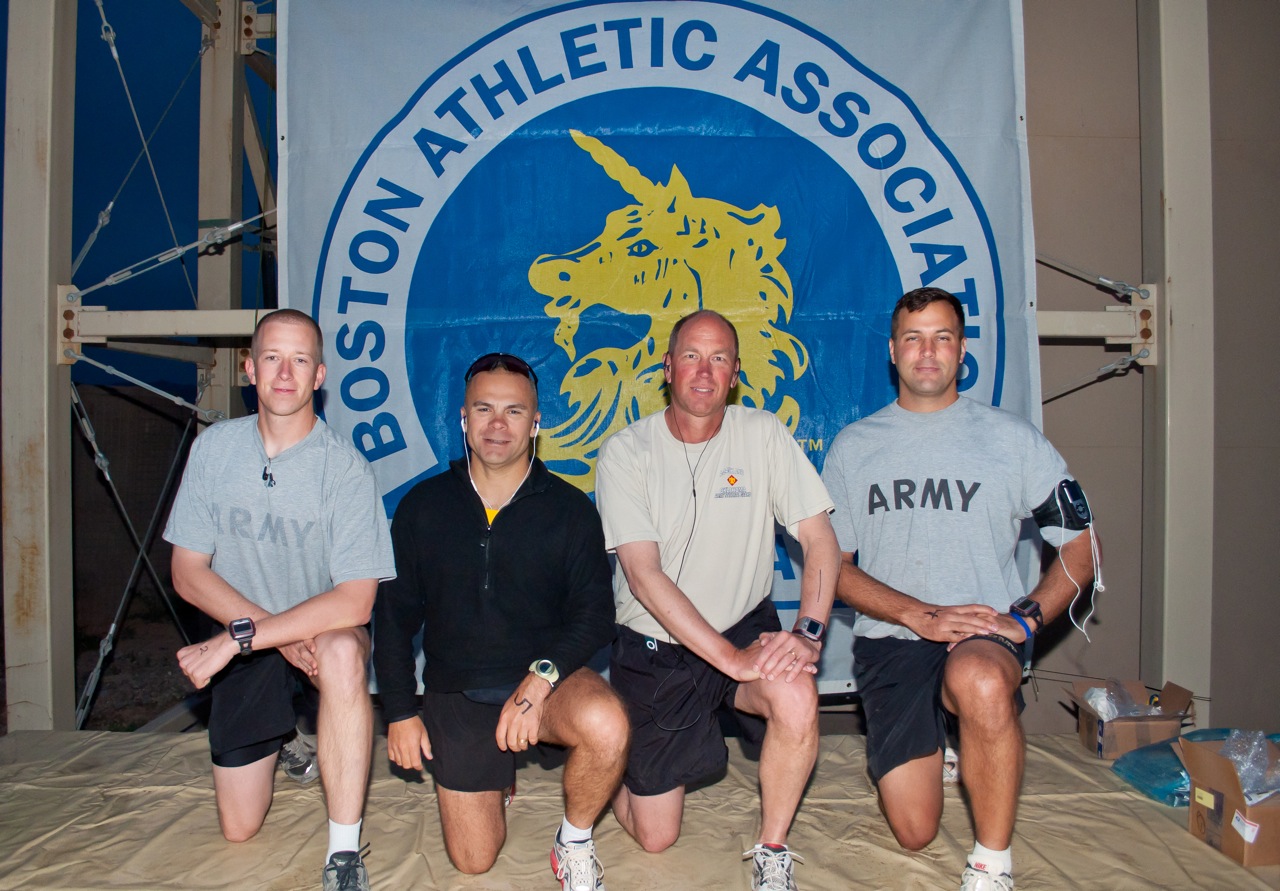
The starting line. This is the BEST section of “road” on the entire course!

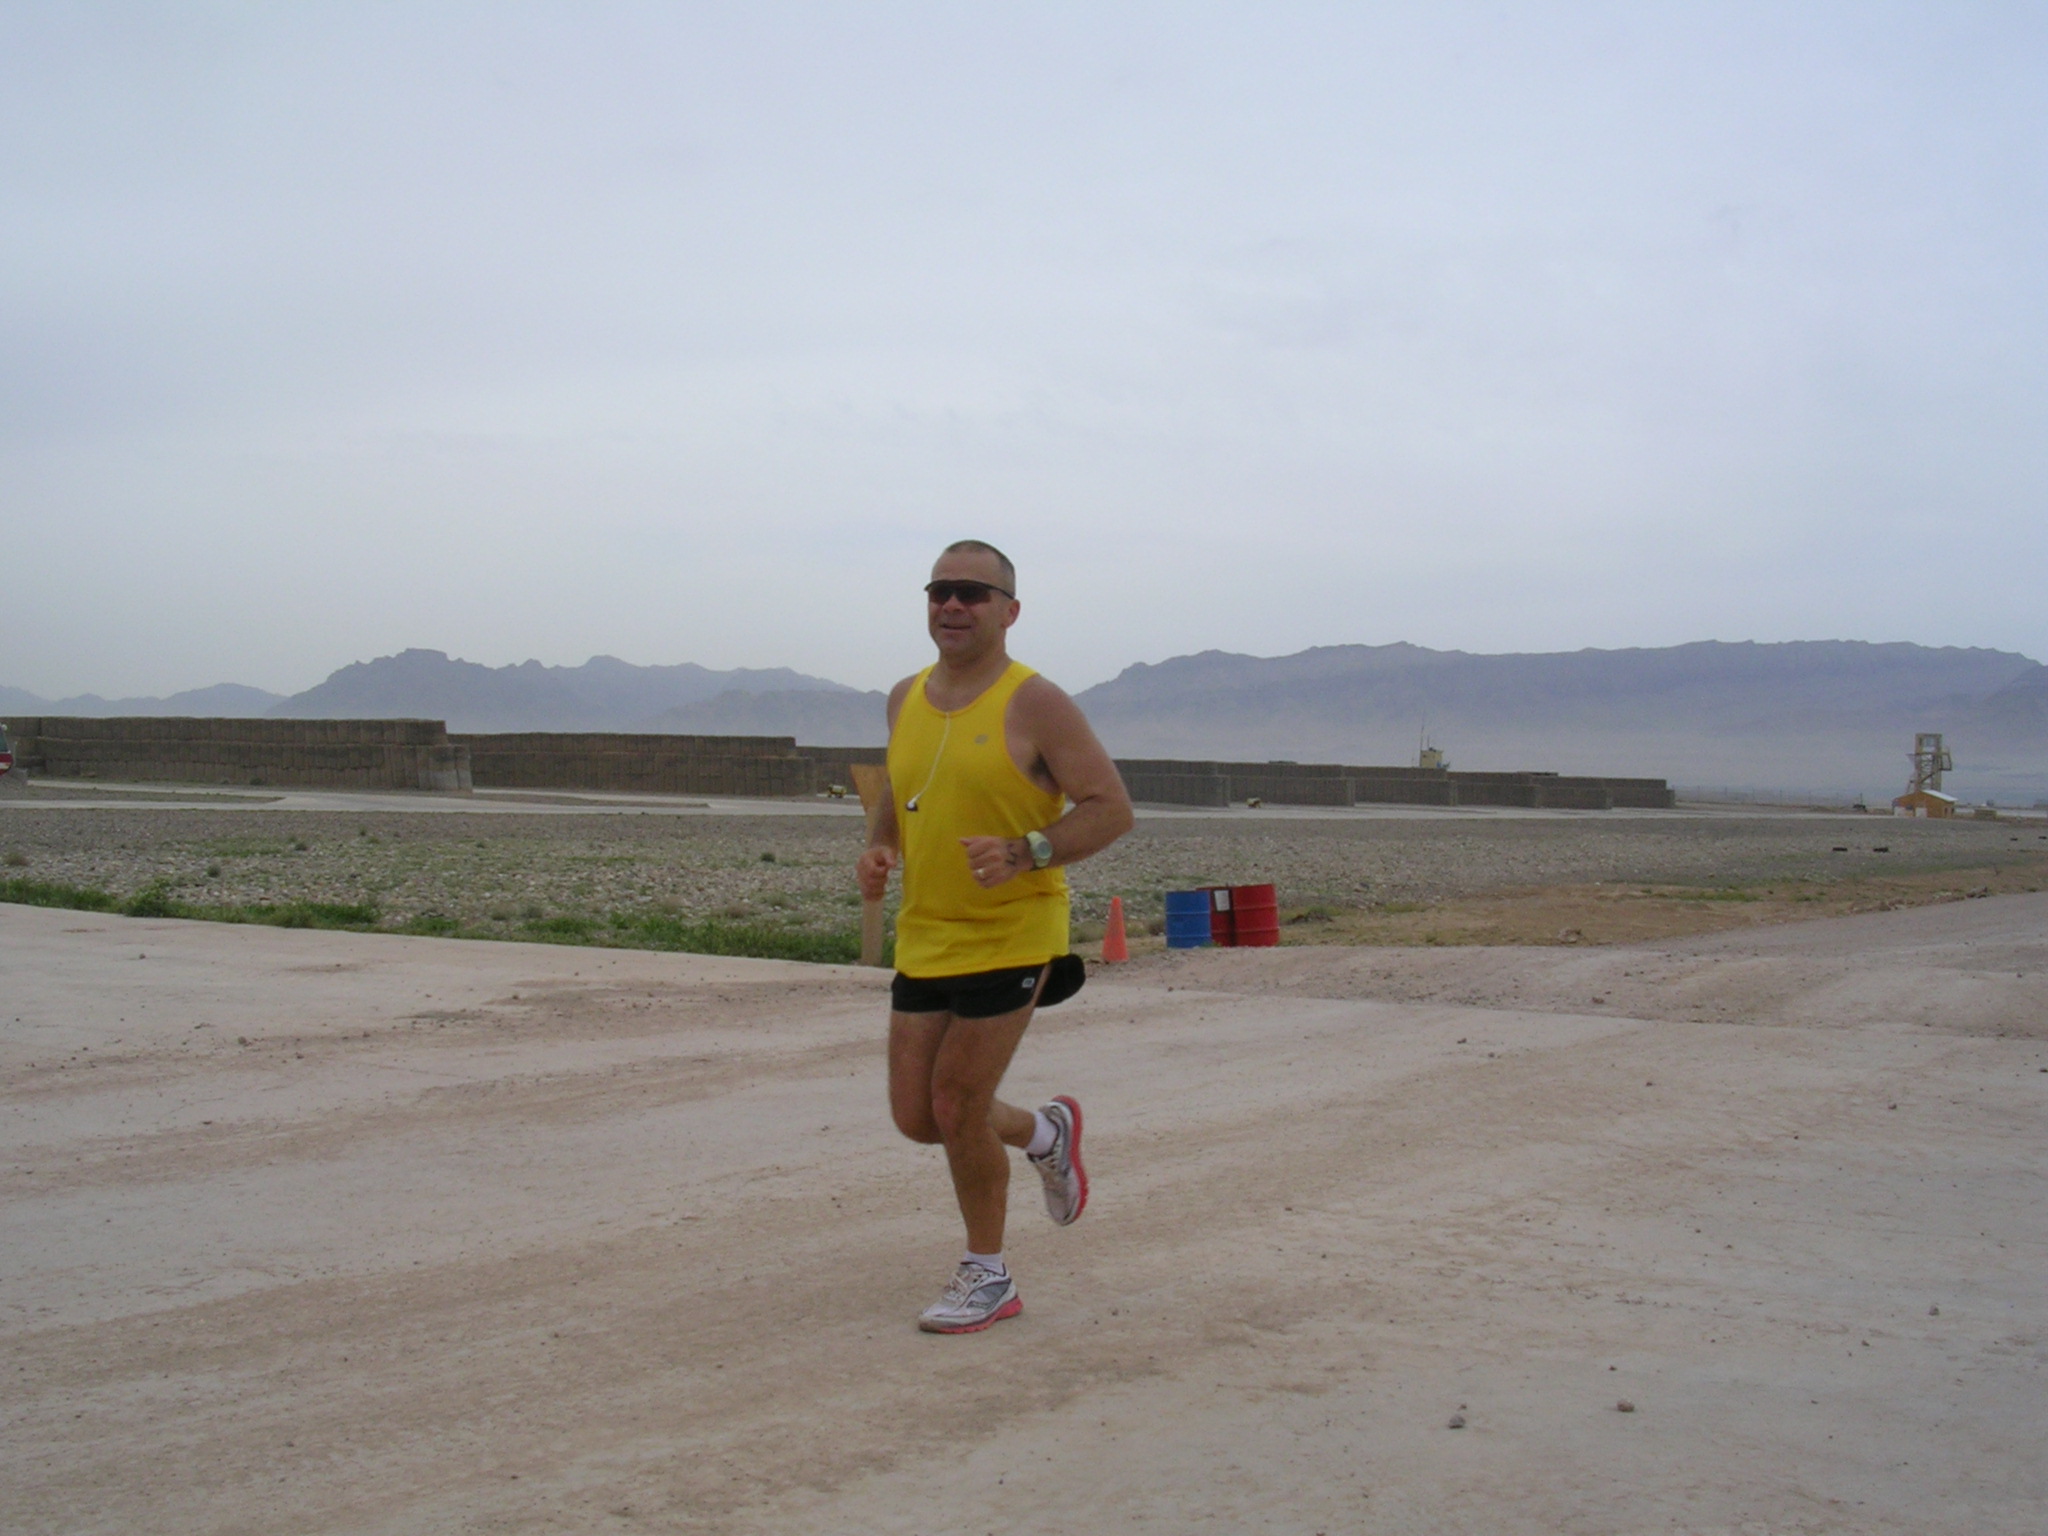
First lap complete! 6 more to go!
Smiling for the camera! I’m NOT smiling on the inside.
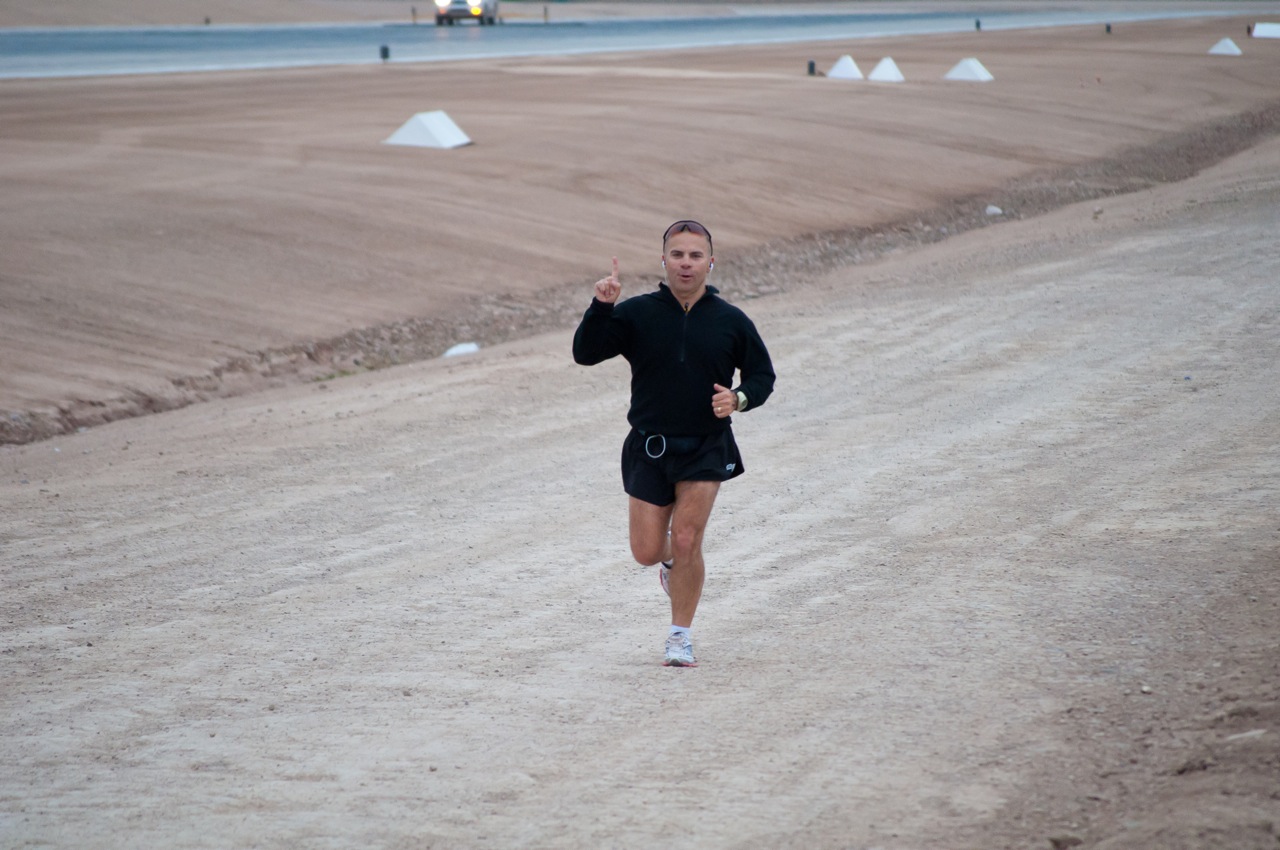
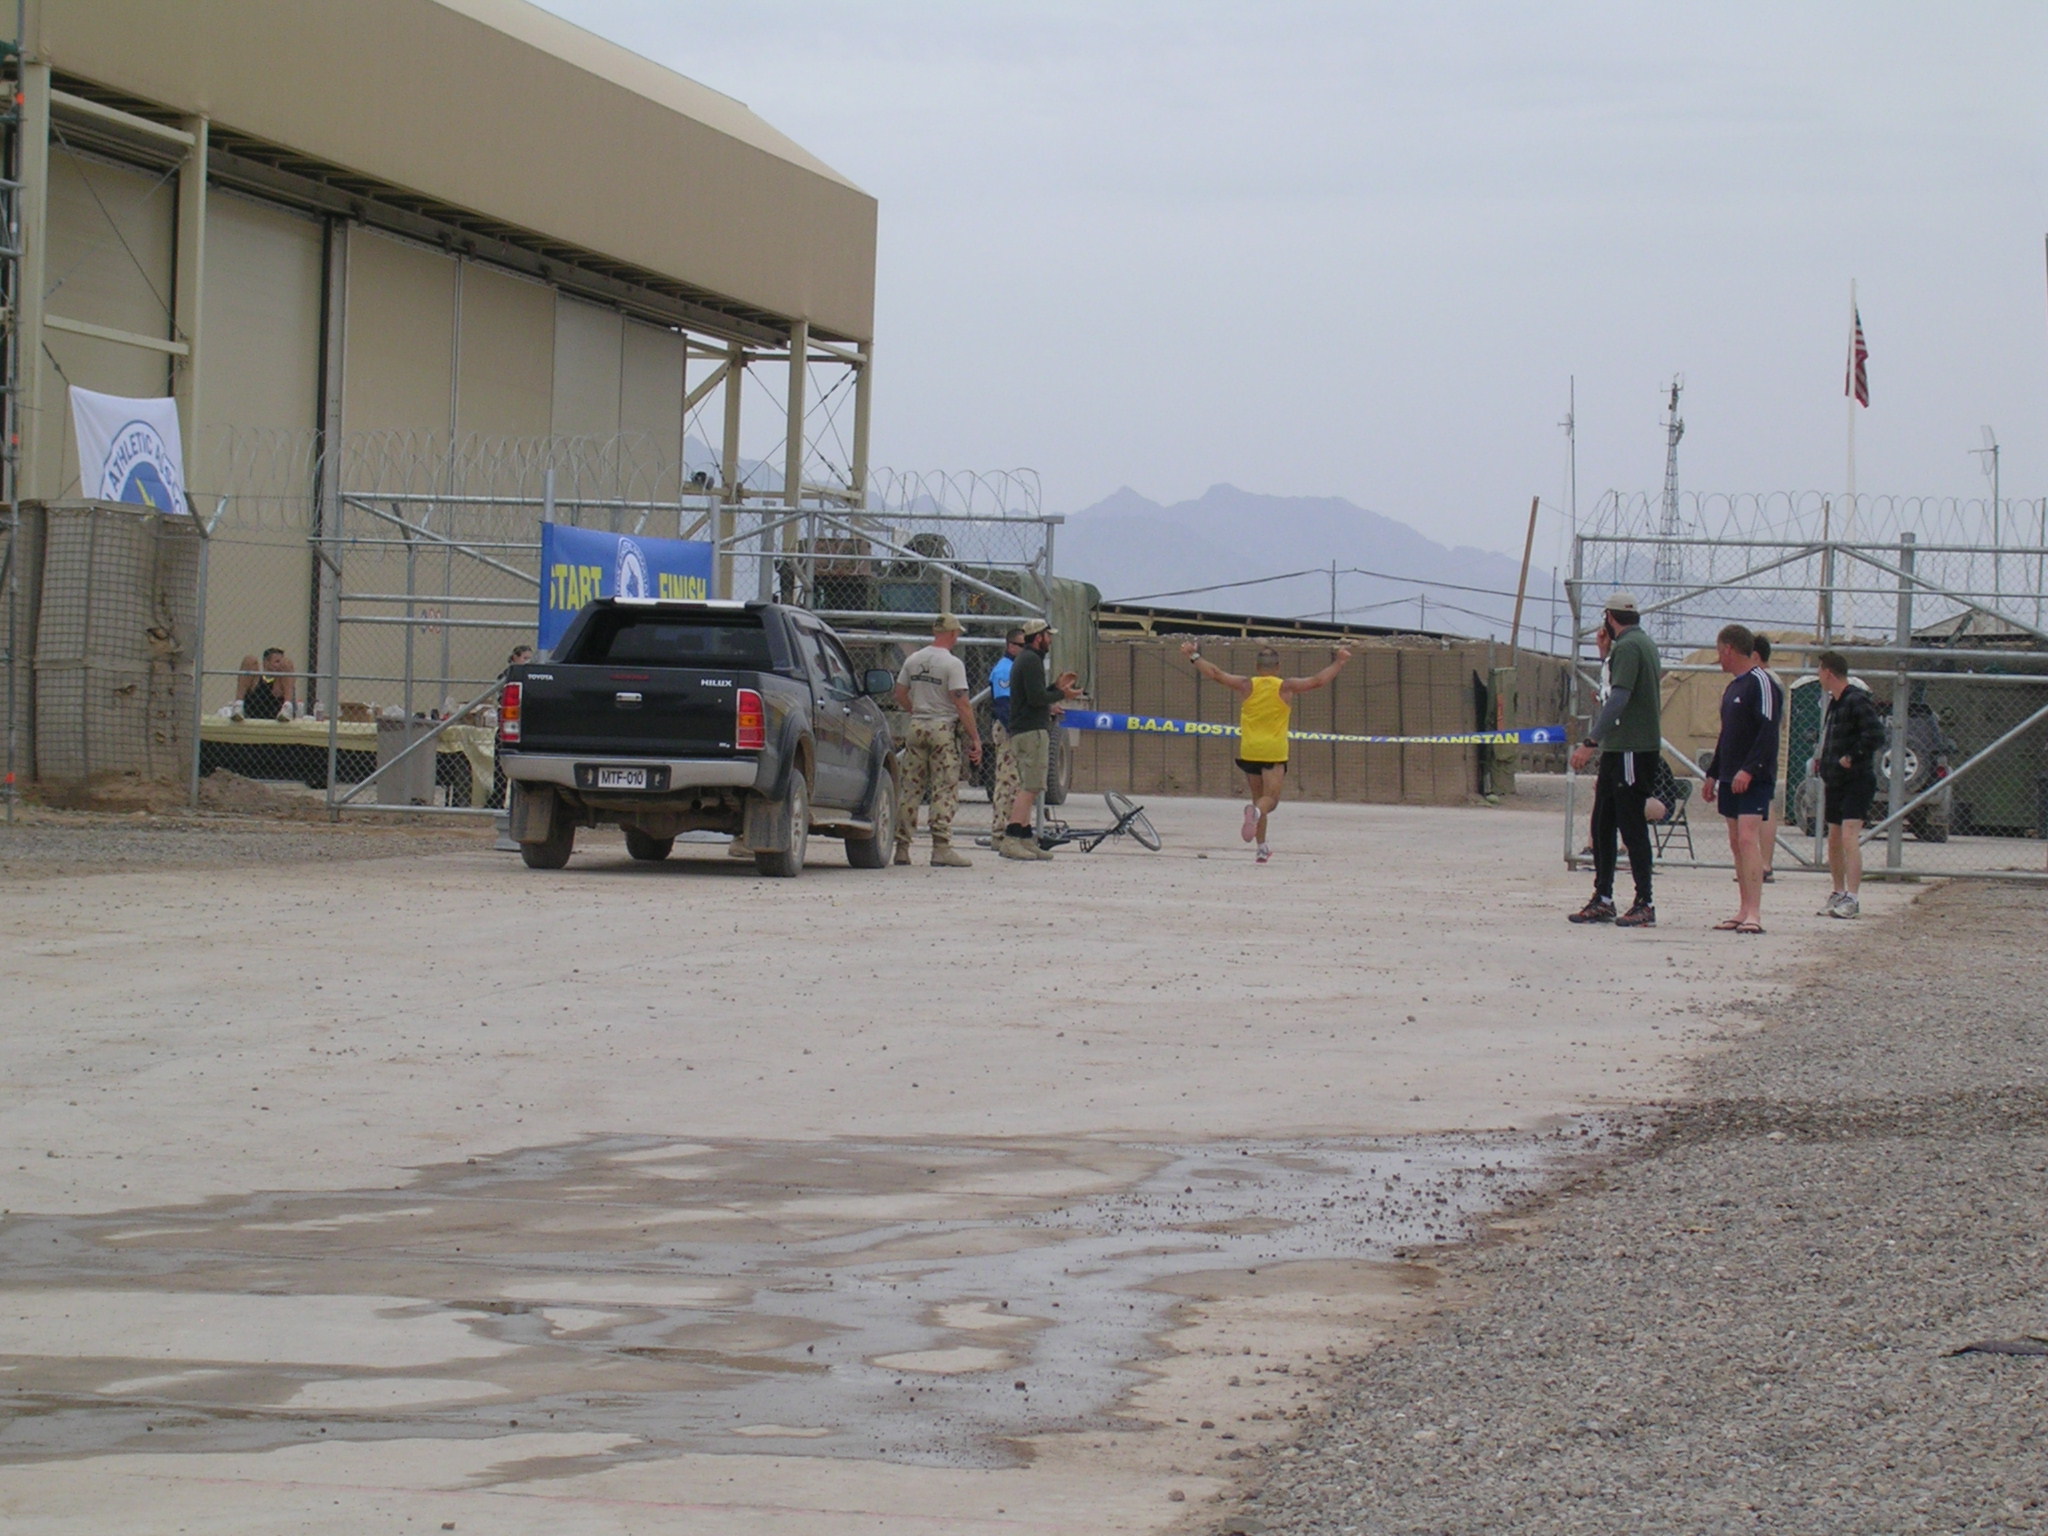
Making the turn into the finisher’s shoot! That’s not a smile, it’s a grimace!
Crossing the finish line!
Posed finishing photo. The photographer was indisposed the moment I crossed!
Cutting NPR From the Budget…WTF?!
Posted: 2011-03-17 in Politics, Rants, WTF?!Tags: budget, government, opinion, politics, rant, wtf
Recently I have read many stories about the heroic efforts of the Republican party to rein in spending by cutting NPR’s funding from the federal budget. Now, I’m a supporter of NPR and public broadcasting in general because I think both provide valuable, intelligent programming. However, we are in a budget crisis and cuts need to be made. Having said all of that, I’m not here to discuss the merits of NPR. For this discussion, let us stick to facts. Clearly, with all of the energy being expended on cutting NPR’s budget it must get us really close to a balanced budget.
Let’s take a look at the numbers!
2010 Federal Budget (Source Wikipedia)
Income: $2,380,000,000,000 ($2.38 Trillion)
Spending: $3,551,800,000,000 ($3.5518 Trillion)
Deficit: -$1,171,800,000,000 ($1.1718 Trillion)
That’s a lot of money!!
-$1,171,800,000,000 / $3,551,800,000,000 = -32.99%
Basically we spend 33% more than we take in. Cuts must be made!
NPR does not get any of its money DIRECTLY from the federal government. It receives part of its budget through grants from the Corporation for Public Broadcasting. Since we are making cuts, lets just get rid of the CPB! This way we can get rid of NPR, the Public Broadcasting Service, etc. Nobody likes Sesame Street anyway. Besides, I didn’t want to research how much NPR recieves and CPB’s budget is bigger. Therefore, my results are much larger than if I had only accounted for NPR.
CPB Budget: $420,000,000 ($420 Million). That’s a lot of money too!
-$1,171,800,000,000 – $420,000,000 = $1,171,380,000,000 WTF?
Ok, let’s put this in perspective and try to explain this in a way a knuckle-dragger like me can understand.
Let’s look at this as if it were a family budget with some nice, small, round numbers.
I’ll eliminate some zeroes so it looks like a normal household budget.
Dividing everything by 100,000,000 =
Income: $23,800
Spending: $35,518
Deficit: -$11,718
Spending: $35,518
Deficit: -$11,718
CPB equivalent = 420,000,000 / 100,000,000 = $4.20 (0.03584% of my budget deficit)
All of this energy for a lousy 0.04%. Seriously?
So, the solution to our problem is to forgoe a Grande Latte at Starbucks once a year.
Brilliant.
Thank you very much @ministryofnuun for the stash!!! You are awesome!! Will treat it like gold in Afghanistan!
Posted: 2010-11-19 in Running
Today is Veteran’s Day. I’m receiving lots of wishes of thanks for my service. Someone even said I was a “Hero.” I know I’m not a Hero but I understand and appreciate the sentiment. The man who called me a Hero is Sam Felsenfeld of Operation Jack. In 2010, he is running 61 marathons (1 per week) to raise awareness and money for Train 4 Autism. Sam is a father of three. His son Jack has severe Autism which which has motivated him to undertake this grueling journey. That is heroic, in my eyes. Another Hero is Jack himself. I can’t even imagine what it would be like to live with Autism or have a child with Autism. We all have our crosses to bear in life and Jack does it everyday with the love and support of his Mom and Dad and siblings.
I found Sam through Twitter. Being a Father and runner I wanted to somehow participate and help Sam out. Our discussion on Twitter resulted in this Operation Jack blog post. On November 12, 2010 the details for participating in a Satellite Run for Operation Jack will be posted. Basically, sign up and run 6.1 miles on 26 December. You’ll get a t-shirt and a medal and you will be helping a Dad help his son and other children with Autism. This is a great example of Selfless Service (one of the Army Values) and one of the requisites of being a Hero. So, join me in helping Sam and Jack. Sign up, raise money and run 6.1 miles on 26 December 2010. I’ll be doing it somewhere in Afghanistan, even if it is on a treadmill. Happy Veteran’s to all who serve or have served in our Nation’s Armed Forces. A big thank you to the families who love a Solider, Sailor, Airman, or Marine; It’s a really tough job. Thank a Veteran by helping someone less fortunate than you.
