GEEK ALERT! GEEK ALERT! GEEK ALERT!
I recently purchased an early 2015 13″ Ratina MacBook Pro. I wanted to do something with the SD Card slot and saw an ad for the Nifty MiniDrive. I decided I was going to install Ubuntu on the SD Card so that it was always available but without making any permanent modifications to my internal drive. This post will describe exactly what I did to accomplish this goal.
When complete, you will have Ubuntu installed to your SD card, rEFInd installed on your SD Card, and GRUB will be removed from your internal hard drive. When booting into Ubuntu you will first use the Apple Boot Manager (by holding the “option” key) to get you to rEFInd, and then rEFInd will boot Ubuntu in verbose mode.
Eventually, I would like to remove rEFInd as well and just use the Apple StartUp Manager to boot directly into Ubuntu but I have not found a good tutorial yet. In all honesty, I don’t understand enough about EFI booting to understand how the boot process is being completed without GRUB. I just deleted GRUB from /dev/sda to see what would happen and found that not only did Ubuntu boot but it booted a lot faster without it!

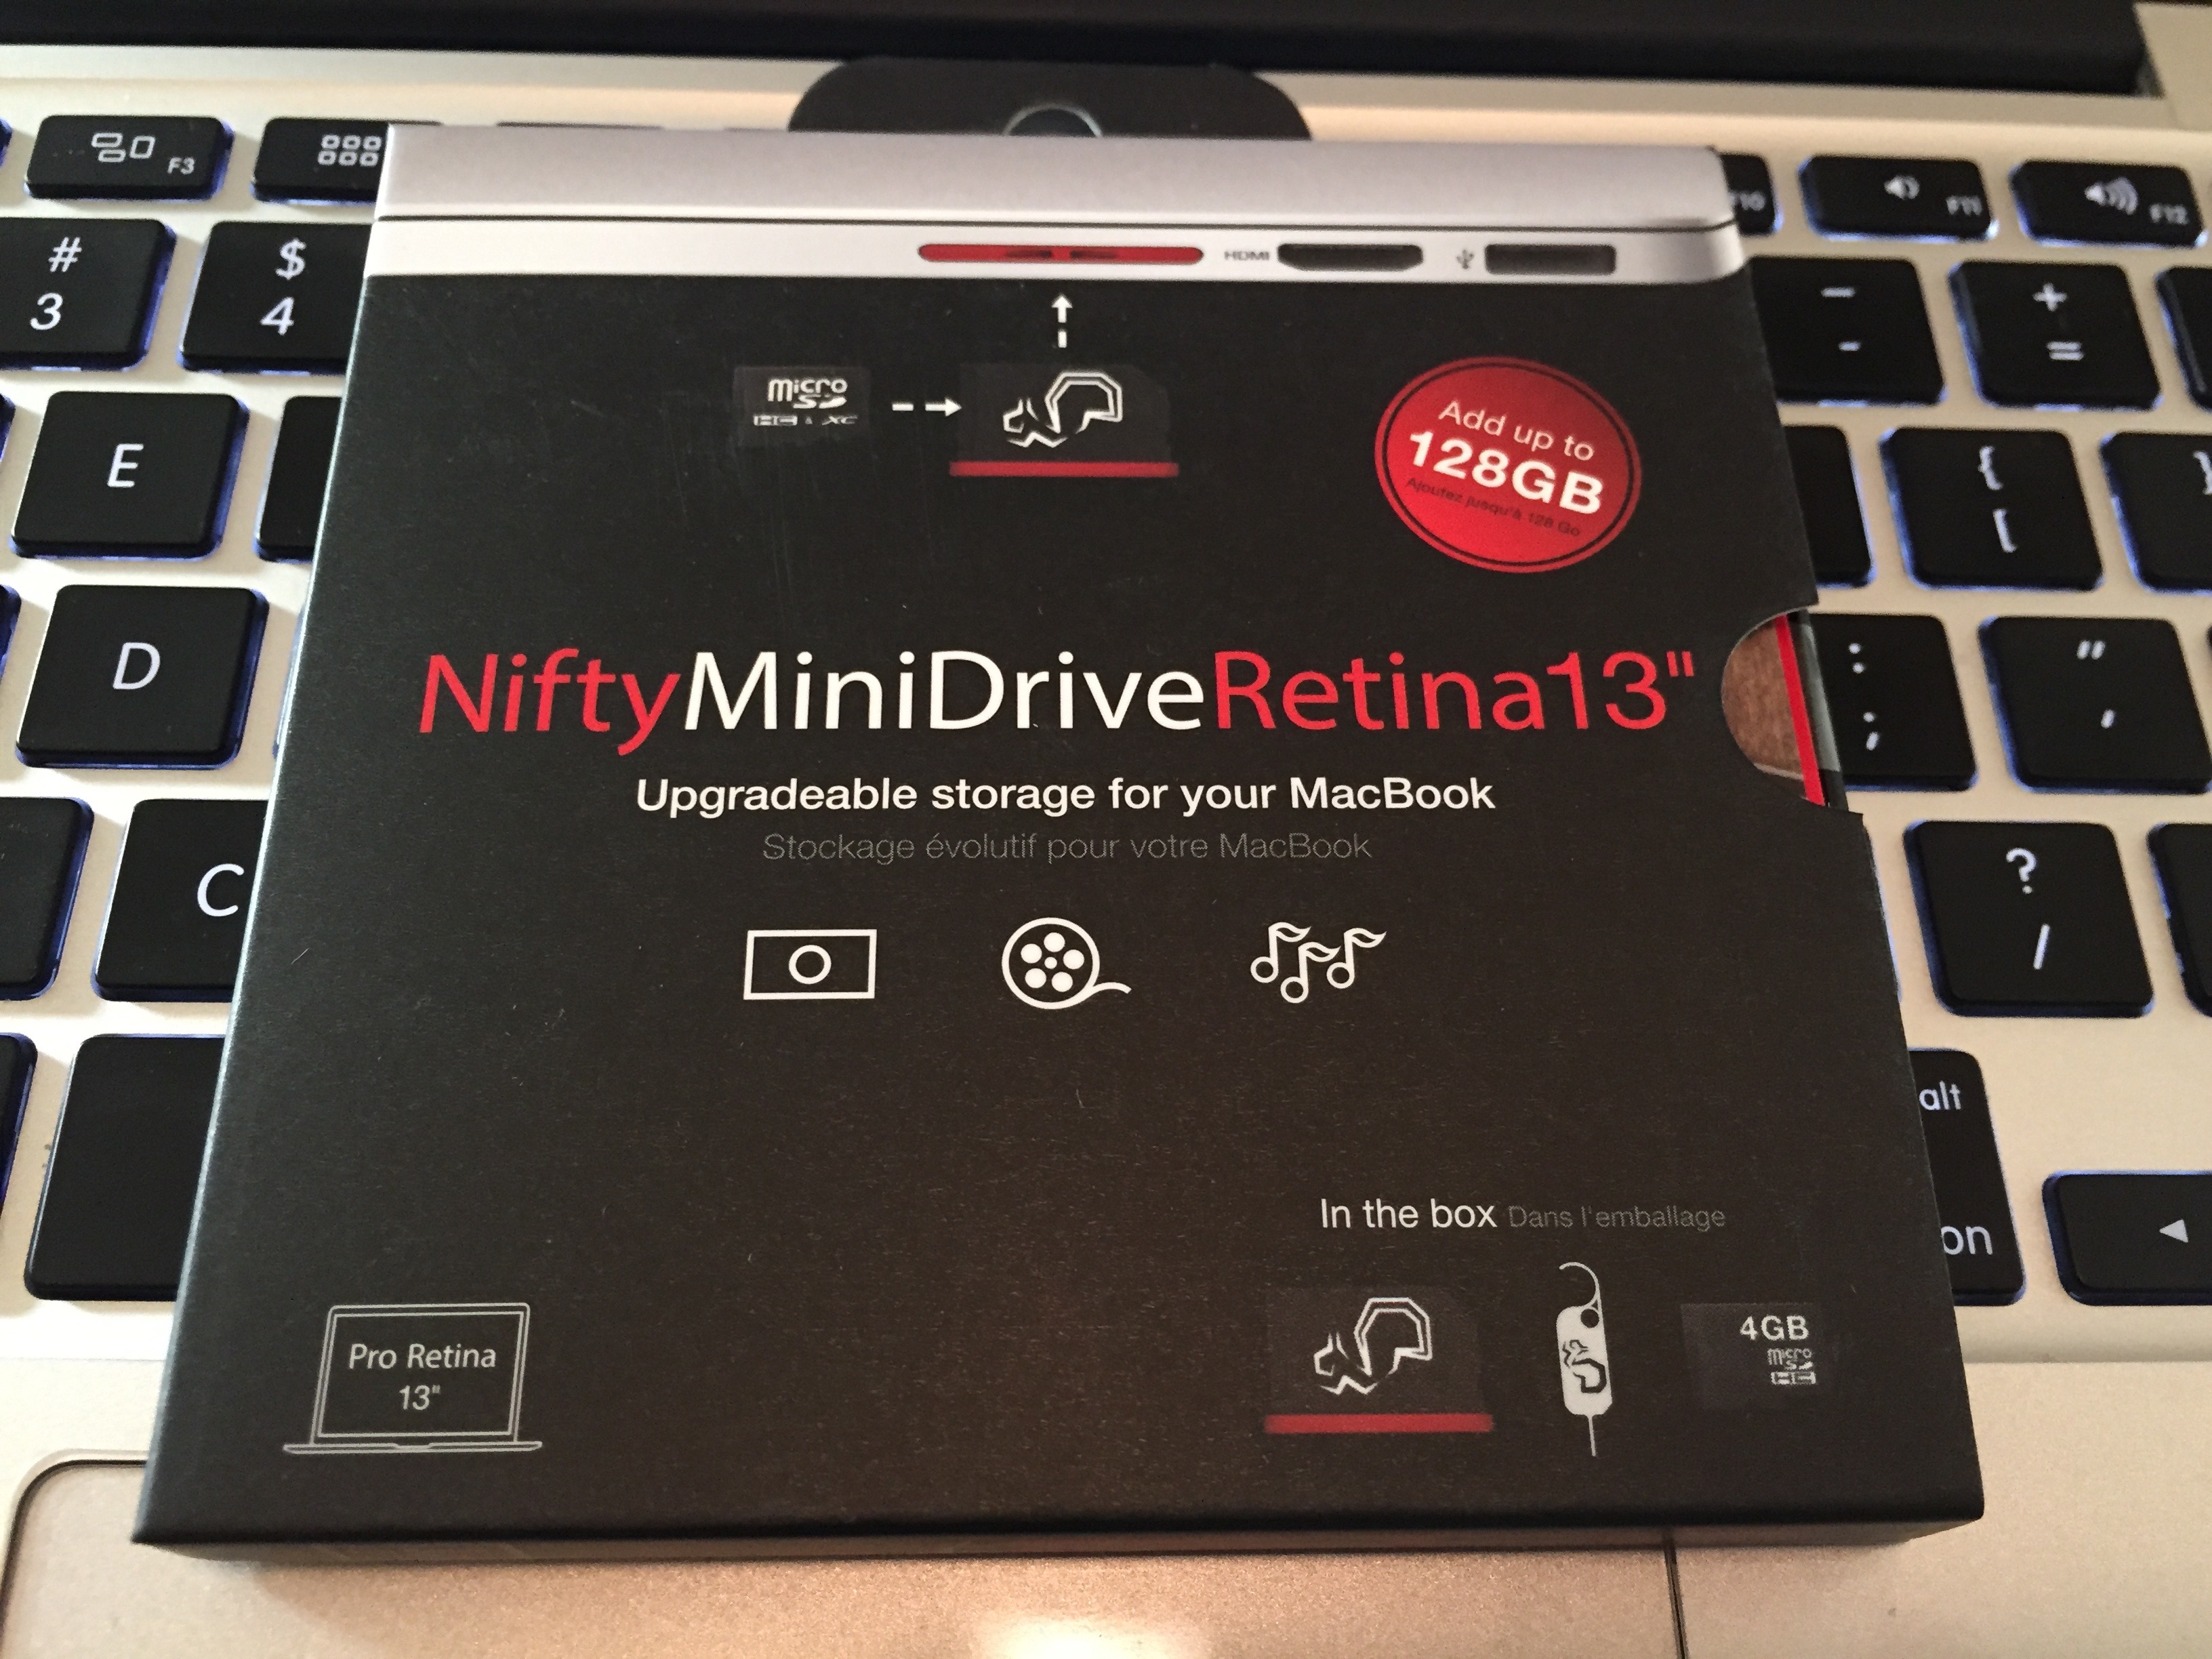
Nifty MiniDrive

Nifty MiniDrive installed in the SD Card slot of my rMBP. The entire Ubuntu system, rEFInd, and my user files all reside inside that little red MicroSD Card.

Nifty MiniDrive Box
Downloads
What you need
- 32GB or greater micro SD Card
- Nifty MiniDrive Adapter (not required. You can use any SD Card or MicroSD Card with adapter.
- Ubuntu 15.04 iso
- 8GB USB stick (to create the Ubuntu install USB)
- A verified, and bootable backup of your system.
Create The Ubuntu Live USB
Create a bootable Ubuntu USB stick using these instructions on the Ubuntu download page.
Prepare SD Card
Use Disk Utility to create three partitions on the SD Card.
- 10GB for the Ubuntu root partition (FAT32). Will be changed to ext4 during install of Ubuntu.
- 18GB for your Home partition (FAT32). Will be changed to ext4 during install of Ubuntu.
- ~4GB for a Share partition (FAT32)
- Select options and select GUID partition scheme.
- Press Apply.
Install rEFInd onto the SD Card
- Open Terminal and type the following command
diskutil list
- The output will look similar to this:
$ diskutil list
/dev/disk0
#:                      TYPE NAME     SIZE      IDENTIFIER
0:     GUID_partition_scheme          *500.3 GB disk0
1:                       EFI EFI      209.7 MB  disk0s1
2:         Apple_CoreStorage          499.4 GB  disk0s2
3:    Apple_Boot Recovery HD          650.0 MB  disk0s3

/dev/disk1
#:                      TYPE NAME     SIZE      IDENTIFIER
0:         Apple_HFS MBP SSD          *499.1 GB disk1
                             Logical Volume on disk0s2
                             11B21249-47B3-4FF1-A807-AD81CEC8B910
                             Unencrypted

/dev/disk2
#:                      TYPE NAME     SIZE      IDENTIFIER
0:     GUID_partition_scheme          *31.9 GB  disk2
1:                       EFI EFI      209.7 MB  disk2s1
2:      Microsoft Basic Data UBUNTU   10.5 GB   disk2s2
3:      Microsoft Basic Data HOME     18.1 GB   disk2s3
4:      Microsoft Basic Data SHARE    3.1 GB    disk2s4
$
- Above, you can see that the EFI partition on my 32GB flash drive is /dev/disk2s1.
- Type the following commands in Terminal to mount the EFI partition of the SD Card:
mkdir /Volumes/efisd

sudo mount -t msdos /dev/disk2s1 /Volumes/efisd
- Mount the rEFInd disk image.
- Drag the rEFInd EFI folder and copy it to the EFI partition of the SD Card by dragging and dropping. Unmount the rEFInd image.
- On the SD Card EFI folder, delete the 32-bit drivers and executables.
- Optionally, you can edit the rEFInd.conf file in order to remove the Recovery HD, and Legacy mode boot options. Just open the rEFInd.conf file in a text editor and remove the “#” that precedes these two lines in the file. They are not adjacent so you will have to scroll through and find them.
scanfor internal,external,optical,manual
dont_scan_volumes "Recovery HD"
- Once you make the edits to rEFInd.conf, save it and close it.
- OPTIONAL: With the EFI partition mounted you can change the icon to an Ubuntu icon (or any other icon you prefer. Find an icon you like and apply it to the EFI folder. I used an Ubuntu icns file I downloaded off of the internet.
- Eject the EFI folder.
- Copy the wireless driver to the share partition on your SD Card. Just drag the “brcmfmac43602-pcie.bin” file that you downloaded earlier to the SHARE partition on the Micro SD Card.
Install Ubuntu to the SD Card
- Ensure your Ubuntu Live USB is inserted.
- Reboot computer and press and hold the option key after you hear the startup chime. If you changed the icon of the EFI folder on the SD card, then your start up screen will look similar to mine. If you see two “EFI” sections, choose the one on the left.

Start Up Manager before installing Ubuntu. Choose the LEFT EFIBoot.
- Select “Try Ubuntu” and let it boot up.
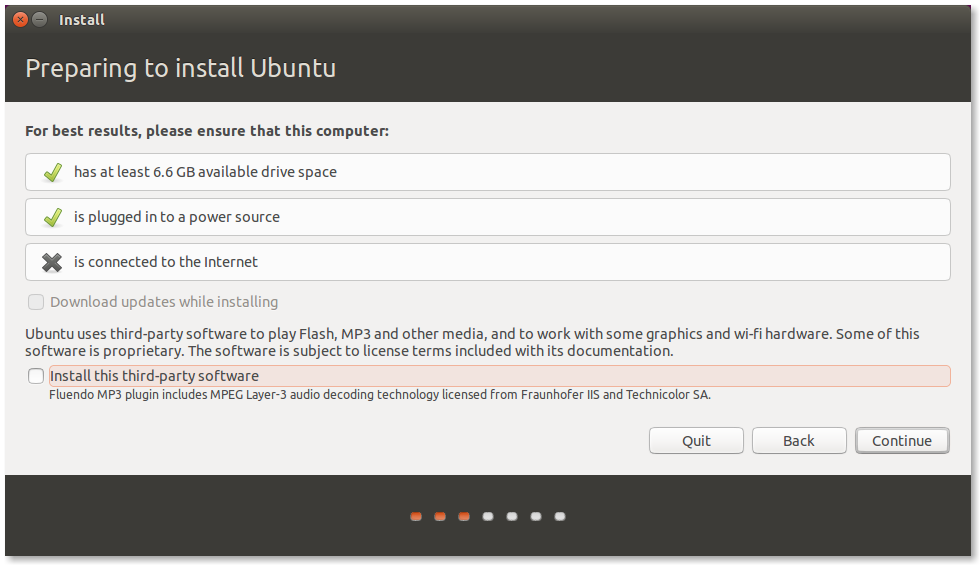
- Click on “Install Ubuntu” and follow the prompts until you get to Preparing to Install Ubuntu.
- Ensure that “Download updates while installing” and “Install this third-party software” are Unchecked. My installs failed when either were checked.

- When you get to Partitioning, choose “Something Else.”
- At the bottom of the window, select /dev/sdb2 as the location to install the boot loader (the same partition that you will install Ubuntu and mount at /. I think there is a bug in the installer because it always installs GRUB to the EFI partition of /dev/sda/. No worries because we will fix it after the install.
- Select the /dev/sdb2 partition (yours may be different, make sure you choose your 10GB Ubuntu partition). Press “Change…” In the drop down choose use as ext4 and set mount to “/”. Check format. Hit ok.
- Select /dev/sdb3 (may be different on your system, choose the “HOME” partition you created when we prepared the SD Card in OS X). Press “Change…” In the drop down choose use as ext4 and set mount to /home. Check format. Hit ok.
- Hit continue. You’ll get a warning that you will erase those two partitions. Hit ok.
- You’ll get another message that you have no Swap. That is fine, I have 16GB of RAM and doubt I will need it. Hit ok.
- Press “Install.”
- Once the install is complete choose to reboot. You’ll get a message to remove the Installer USB and press enter. Remove it and press enter. The system will reboot. Reboot into OS X.
Remove GRUB From Your Internal Drive
- Once you are booted back into OS X, open a Terminal.
- Mount the EFI partition of your internal hard drive using the following commands.
diskutil list
Your EFI partition is probably disk0s1 but verify this from the output of diskutil list!
- Type the following commands in Terminal to mount the EFI partition of your internal HD:
mkdir /Volumes/efi

sudo mount -t msdos /dev/disk0s1 /Volumes/efi
- The EFI partition will mount. Open it with the Finder.
- Open the EFI Folder. There will be two folders: APPLE and UBUNTU
- Delete the UBUNTU folder ONLY
- Eject the EFI volume.
- Restart the computer.
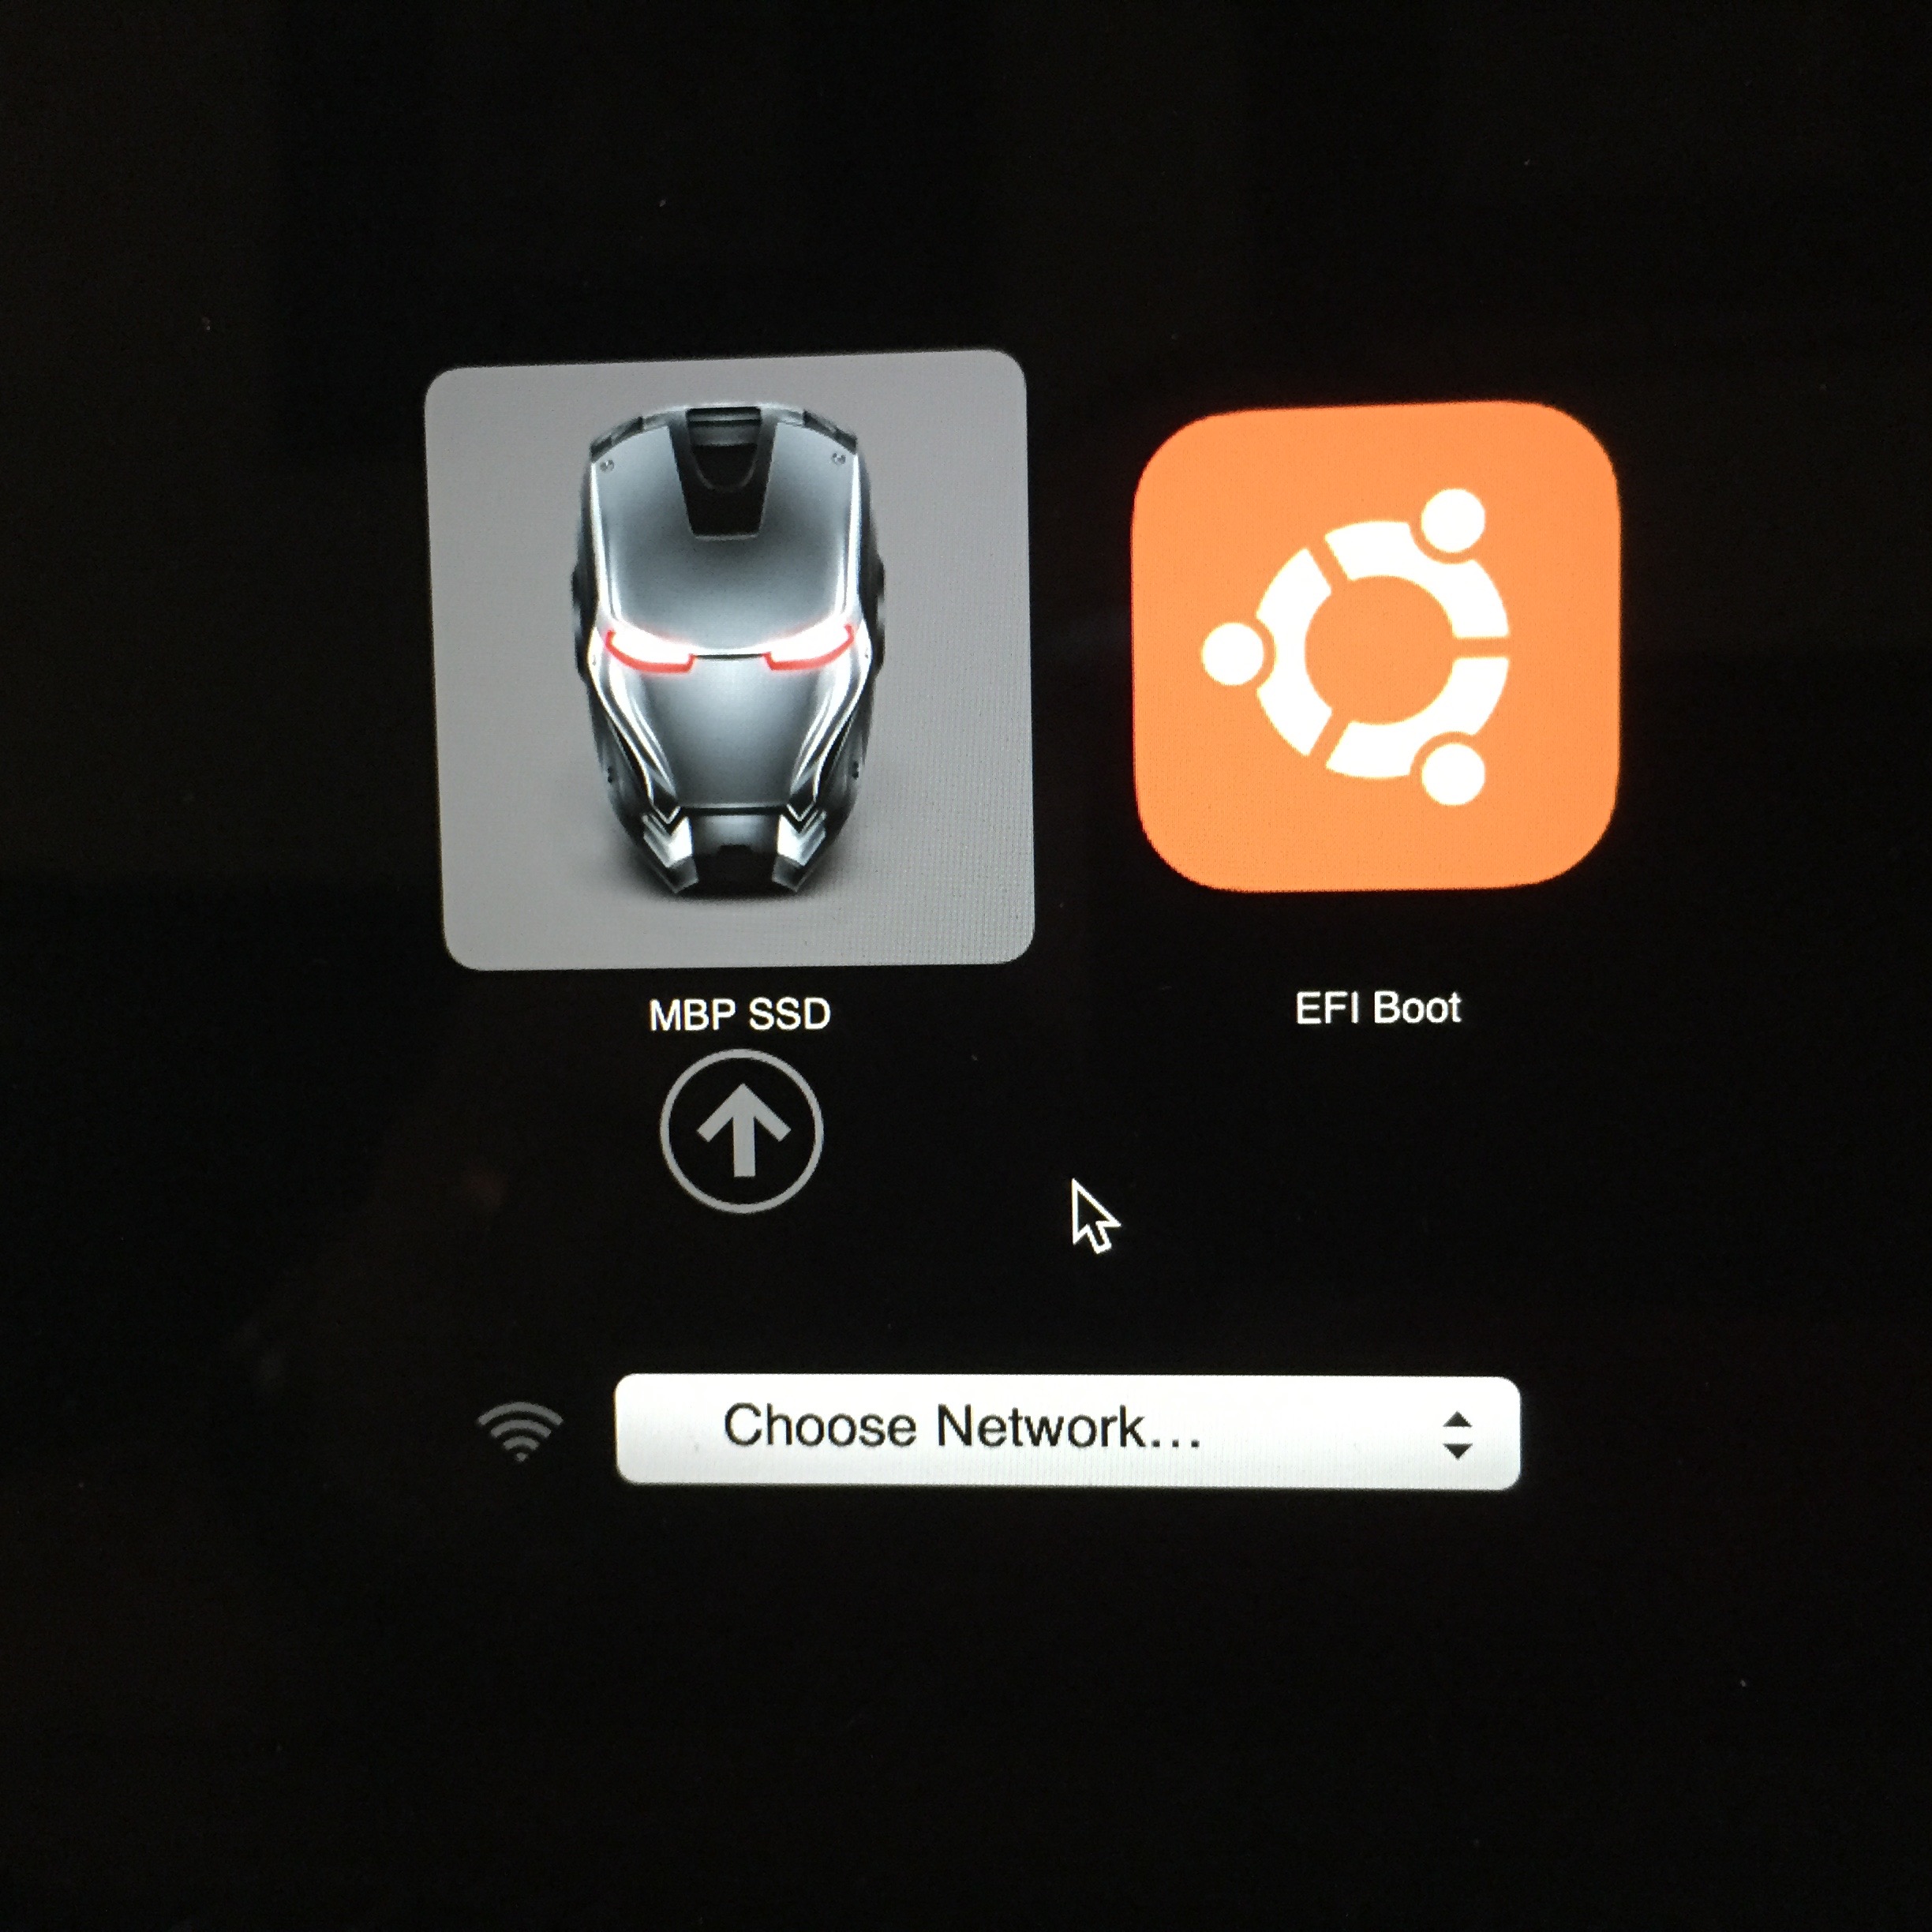
- Press the “option” key after you hear the start up chime and choose “EFIBoot.” Mine looks like this:

Apple Start Up Manager
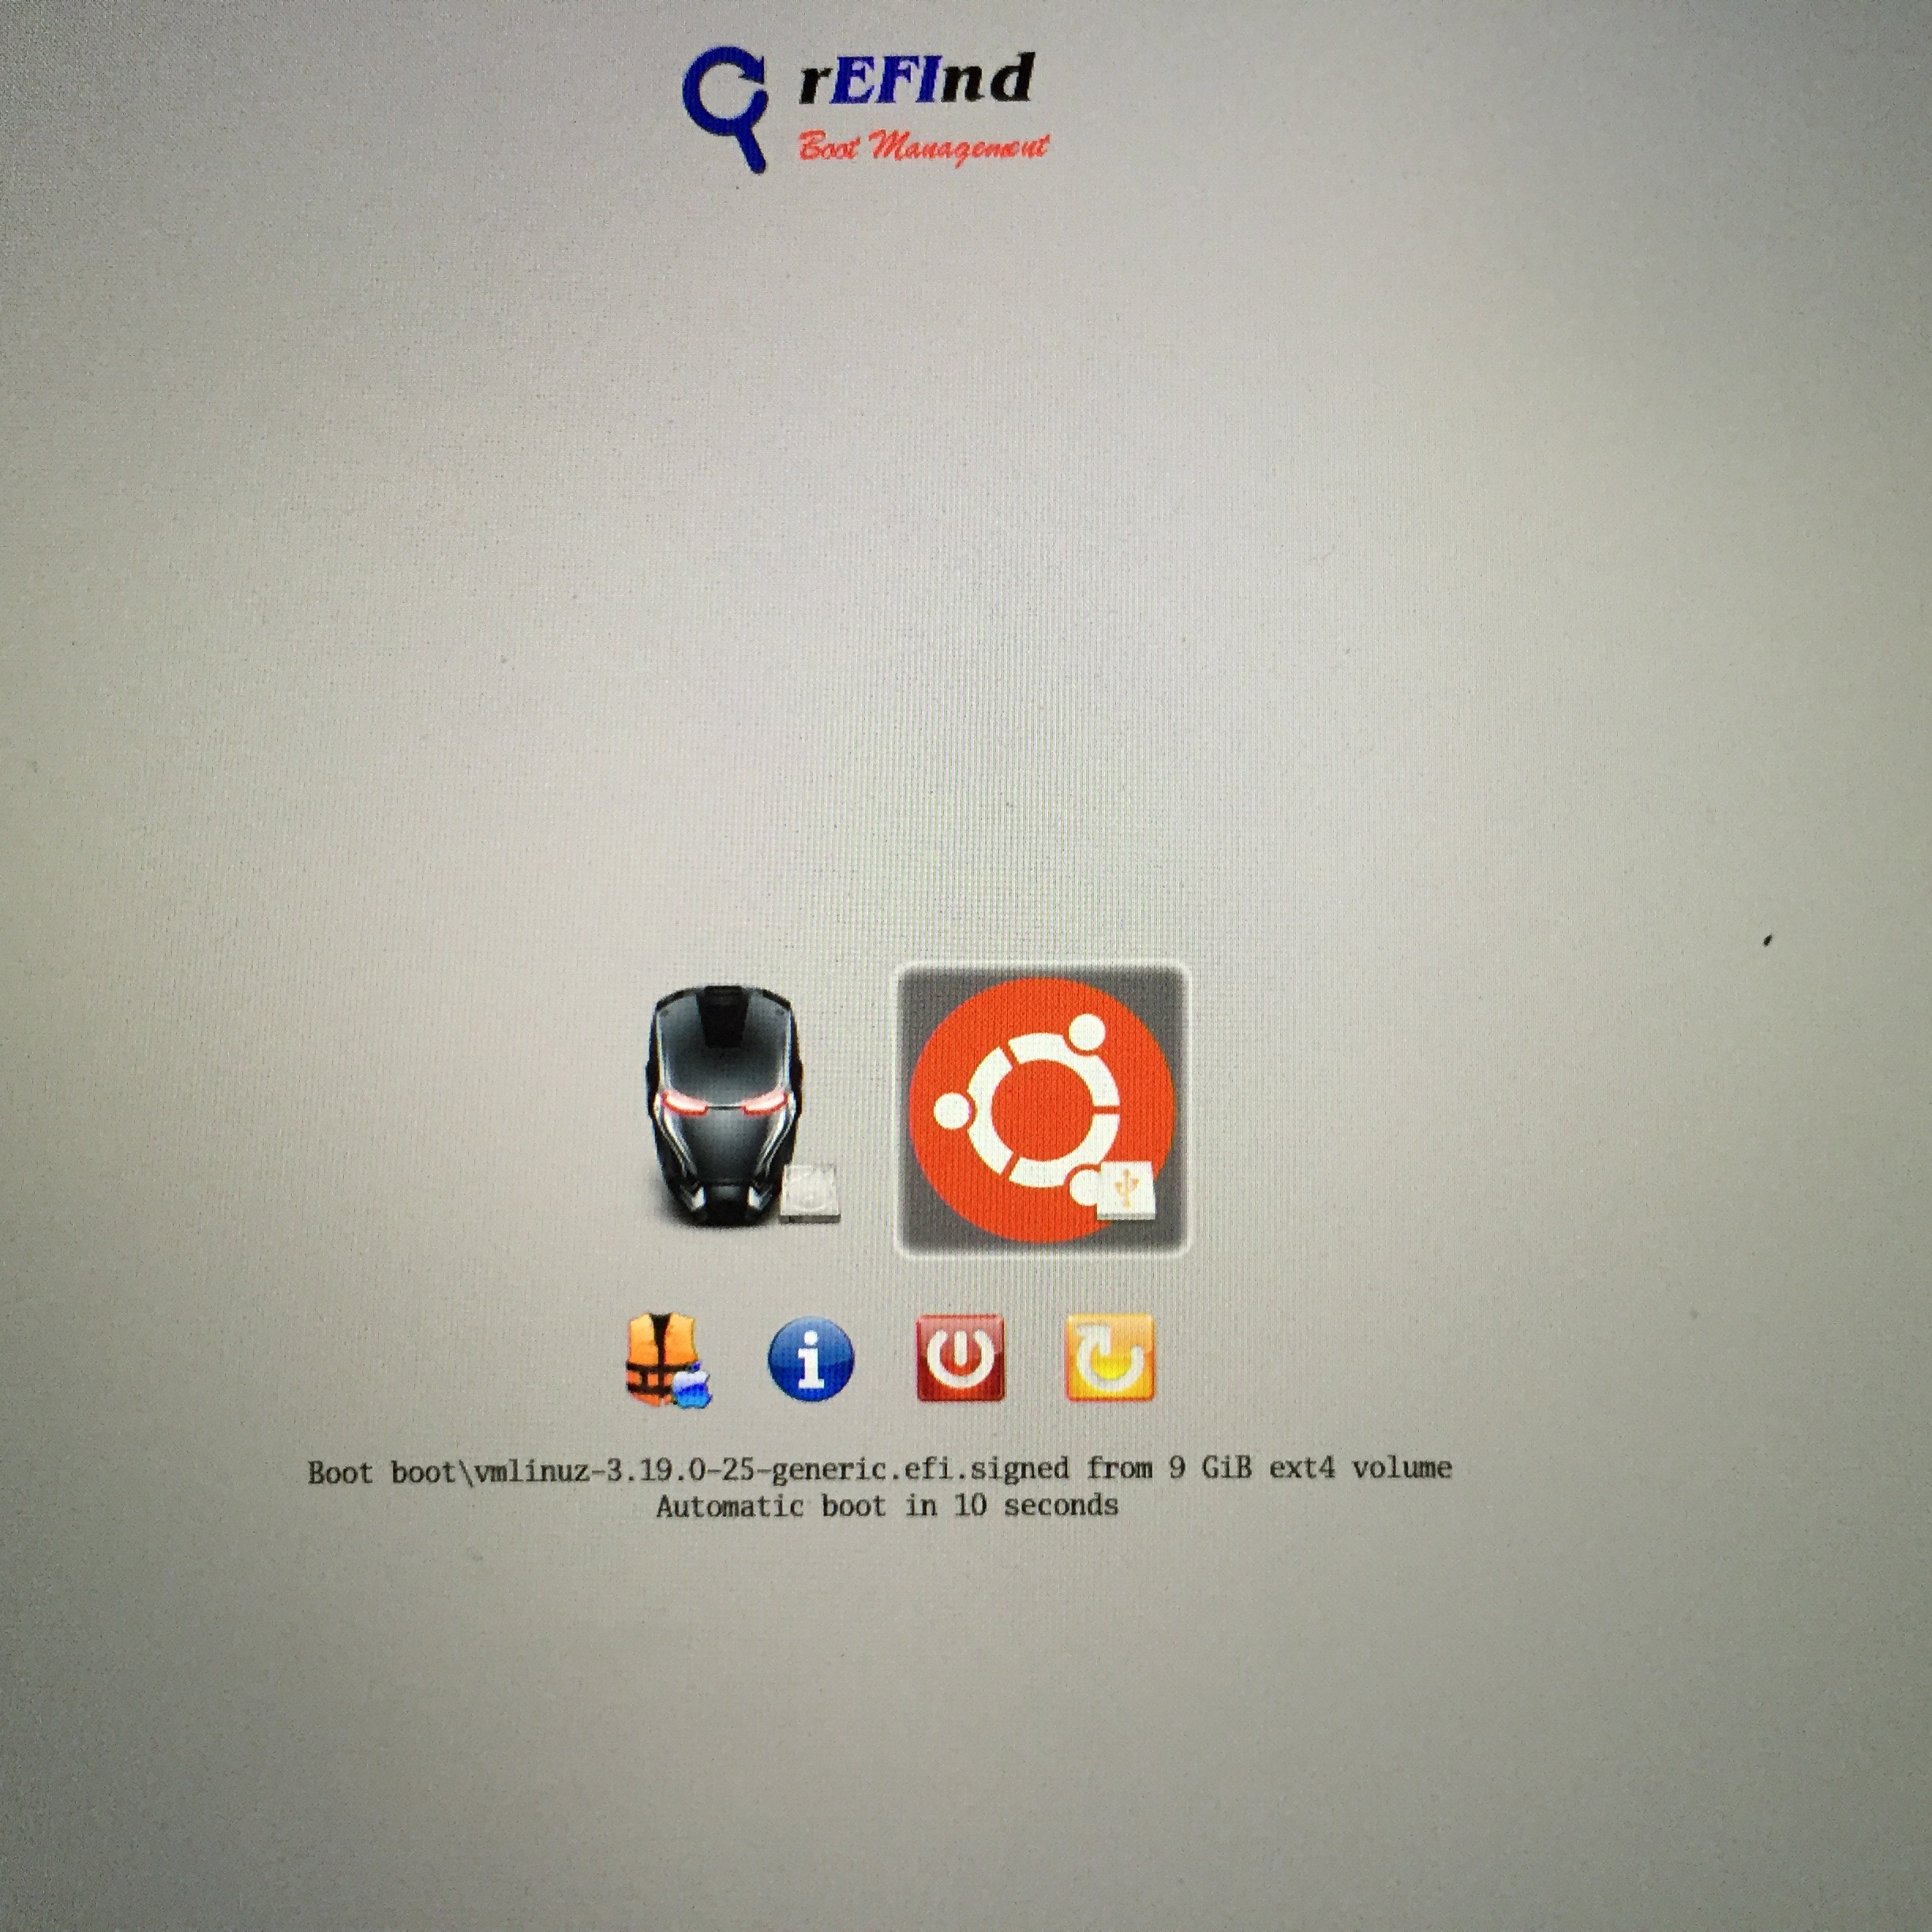
- On the rEFInd Menu Choose Ubuntu and press enter. Your system will load. Enter your password and you will be logged in to Ubuntu. My rEFInd Menu looks like this:

rEFInd Menu
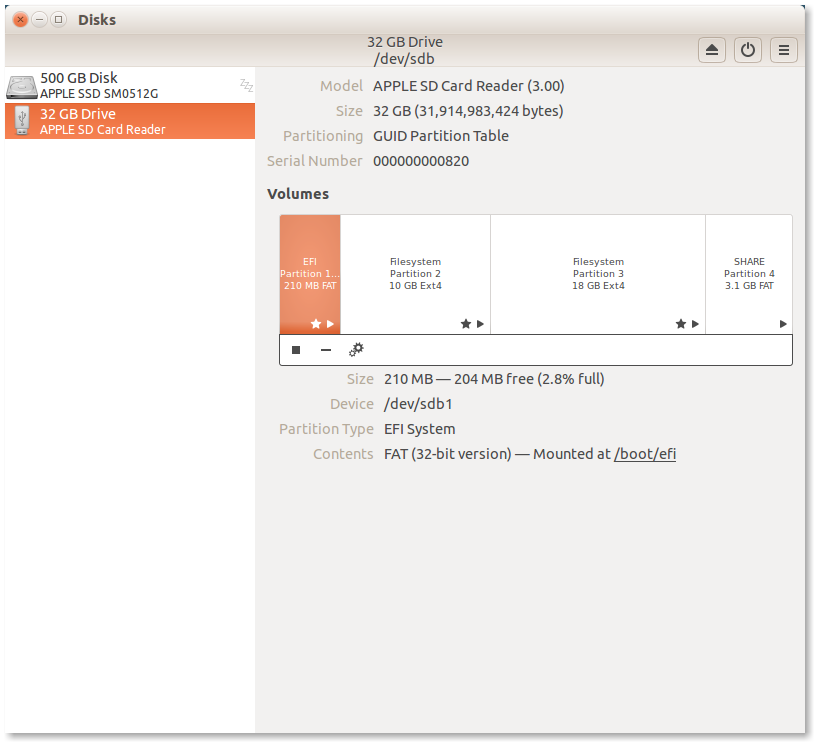
- If you open the “Disks” application in Ubuntu you can see how your partitions are laid out. Below is a picture of my final set up.

Final partition setup in Ubuntu
Get Your Ubuntu WiFi Working
- Open Terminal and enter the following commands:
cd /lib/firmware/brcm

sudo cp /media/YOURUSERNAME/SHARE/brcmfmac43602-pcie.bin .
- Reboot.
- WiFi should be working and you should be able to update your software.
- Reboot after updates have been applied and enjoy Ubuntu running off your SD Card!
Fixes Still Required
- 5Ghz WiFi does not work. Only 2.4Ghz.
Trackpad does not work perfectly. No two-finger scrolling or two-finger right clicking.
- Go to Github and download the zip file (on the right hand side). Extract the archive. Open a terminal go to the directory of the archive. Follow the instructions in the readme file and reboot. Works like a charm!
- I noticed that after an update, I had to re-apply this fix. So bookmark the github link.
- I’d like to figure out a way to get rid of rEFInd but have not figured that out yet.
I hope you found this tutorial helpful. Please leave a comment if it helped or if you have any questions.
References